iTelescope.net is an web based network of remotely controlled telescopes currently based in four areas. The service has telescopes based in New Mexico, and California in the United States, in Spain, and in Australia. Using a web browser, one can control or upload a planned observation that can reserve telescope time and execute automatically at the appointed time. It describes itself as a Self-Funding Observatory with most of the profits invested back into upgrading their operation.
- Details
- Category: Equipment
Here are a few of the images I've taken with the new camera and equipment. Still working out the bugs with the new equipment and camerA
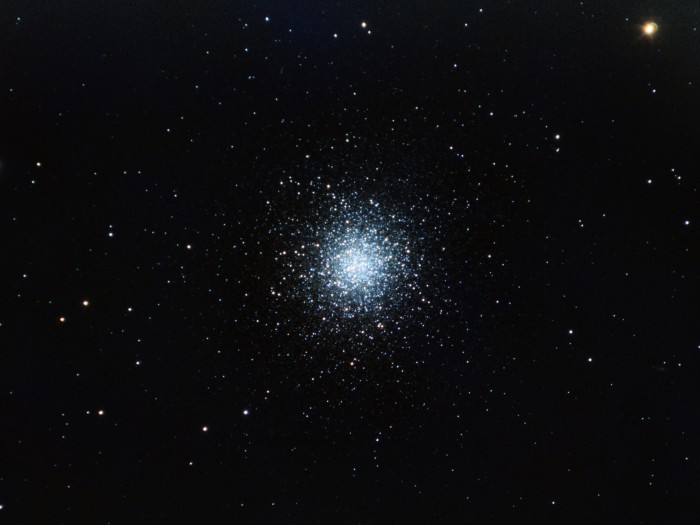
First up is the Great Globular Cluster in the constellation of Hercules. Imaged under a full Moon, so not the best imaging conditions.
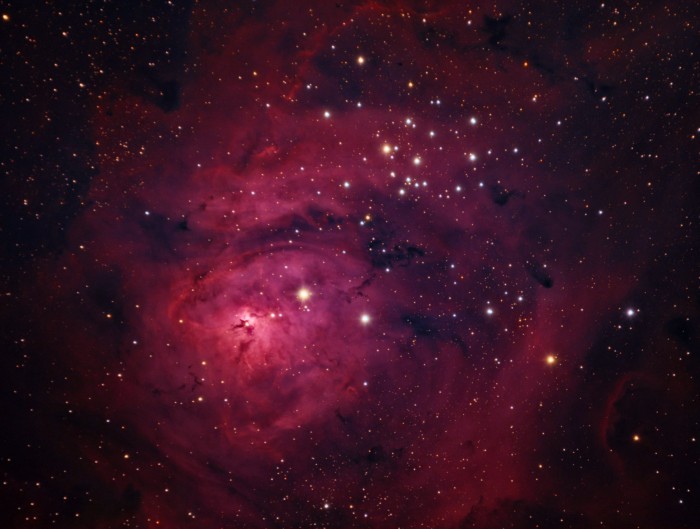
Next up, under no Moon conditions, the Lagoon Nebula or M8
And finally, a more challenging target, NGC 5907, often called the Splinter Galaxy, or the Knife Edge Galaxy. Didn't have much luck processing this one, despite over 8 hours of integration time.
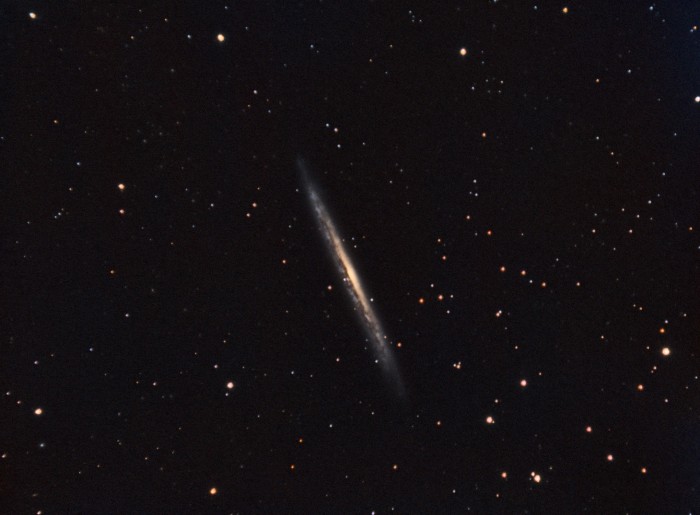
Still lots to learn to get a better quality image.
- Details
- Category: Equipment
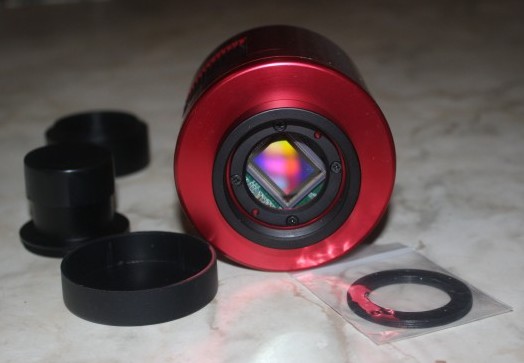
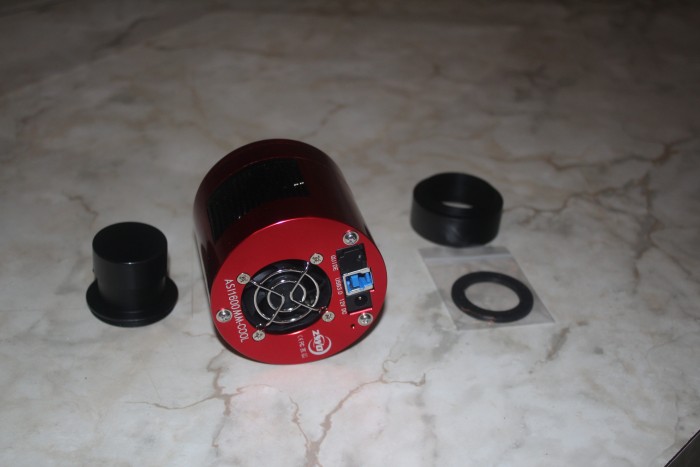
Just received a new camera, and no charge for the extended cloudiness that comes with any astronomical purchase. Received a just out ASI 1600MM-Cool camera. It is a 16 megapixel 4/3 CMOS sensor, that has a resolution of 4656 x 3520 pixels, and a pixel size of 3.8 nanometers. It also has a two stage TEC cooling system that can take the sensor down to 40C+ below the ambient temperature. It also has a very low read noise, which is good for deep sky, and with its relatively high frame rate it can also be used as a planetary camera. Looking forward to trying it out in both types of imaging.
- Details
- Category: Equipment
After using the dome for several years, started thinking about the next observatory. Wanted the capability of using two scopes in those seeming rare clear moonless nights, and the ability to image without having to rotate the dome. At the time, automating my dome was looking rather difficult and expensive.
Settled on a roll off roof observatory, and after doing research, ordered plans for a SkyShed RoR. Picked the 10 foot by 10 foot one, based on my ability to haul the supplies, and most likely I would be building it by myself.
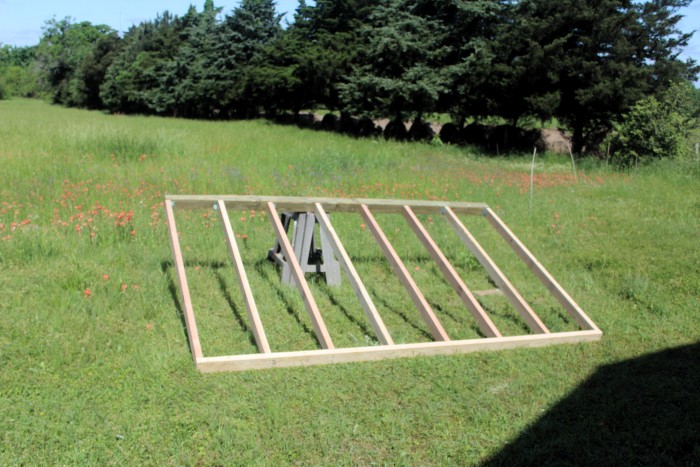
Started work on it in April 2015 by building the four walls. Here is the left side wall that the roof closes up to.
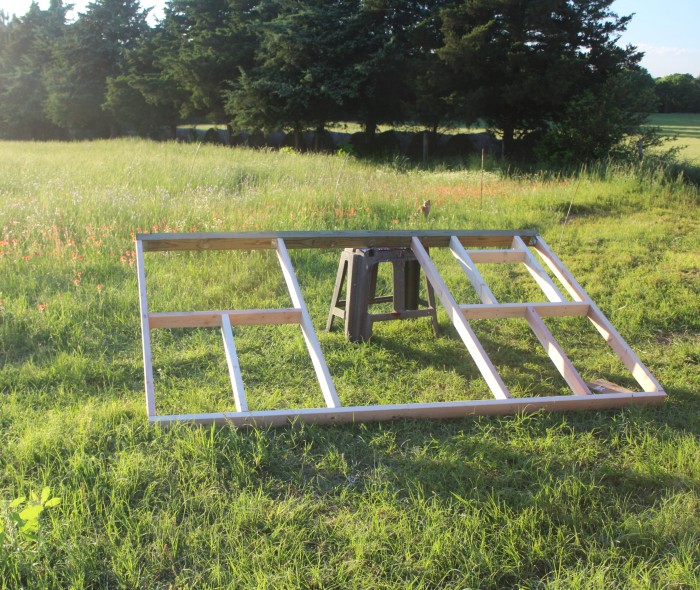
This is the front side, that contains the door, and two windows.
The back wall.
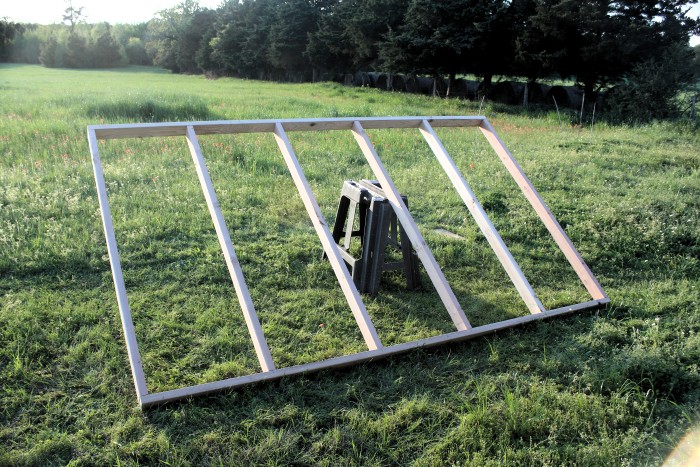
And finally the right side wall, the side the roof opens up to.
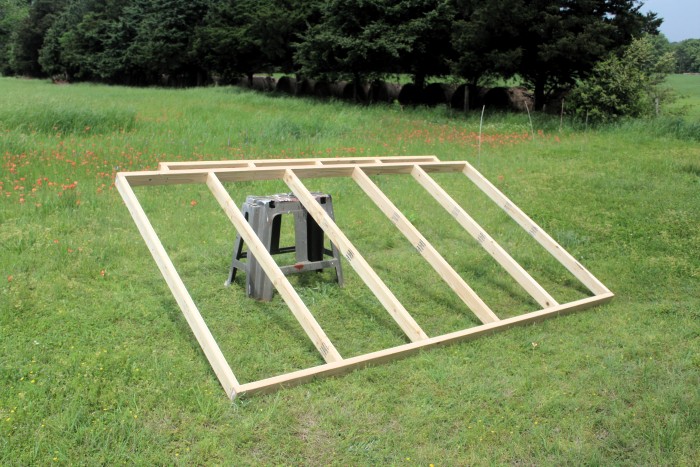
Then came the fun part of building the foundation. I decided on a pier and beam foundation supported by concrete piers. The ground starts sloping downhill, and I also wanted it up off the ground as much as possible.
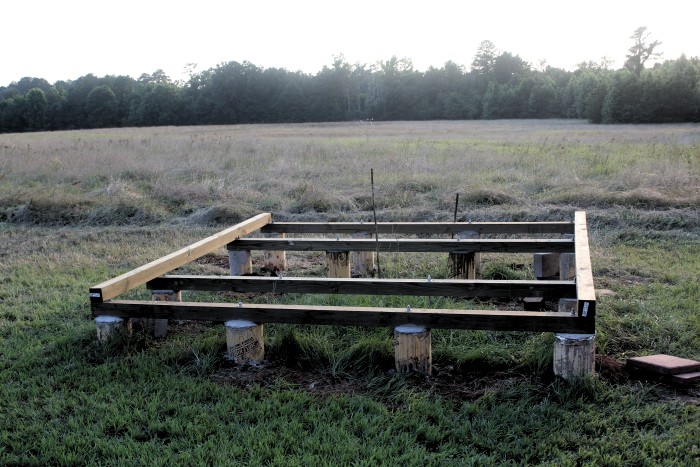
The foundation and subfloor, finally finished.
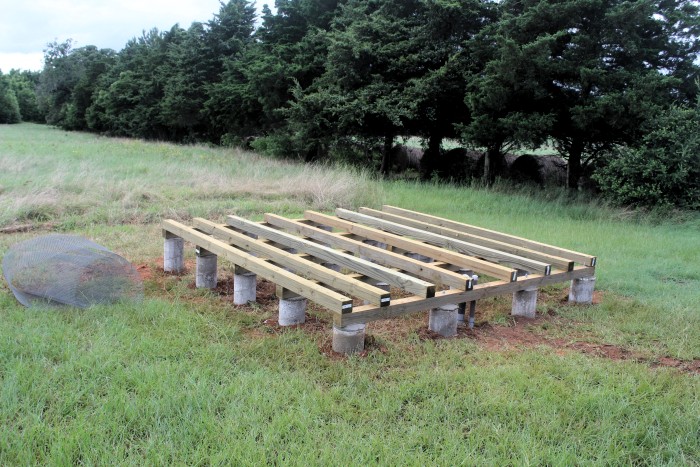
Then added a section of deck for the base floor. I also cut out the center section for a future addition of a pier. Later in the construction I added plywood underlayment to help seal the cracks in the floor.
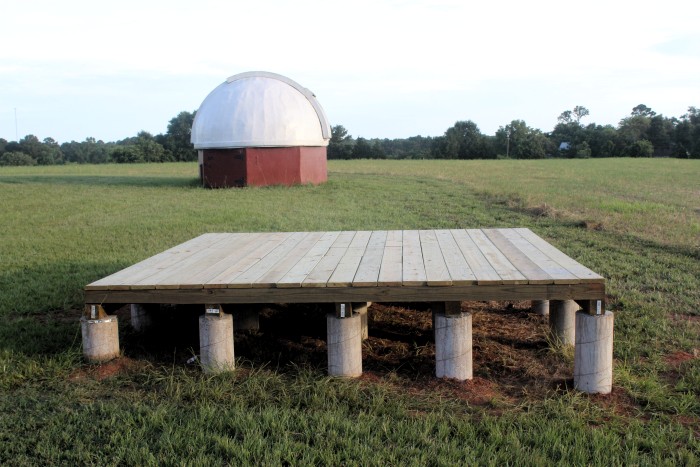
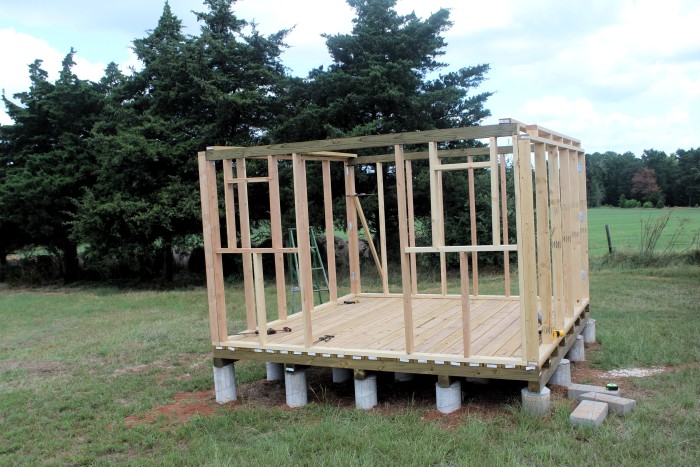
Finally able to put up the walls that I'd had stored in my shop!
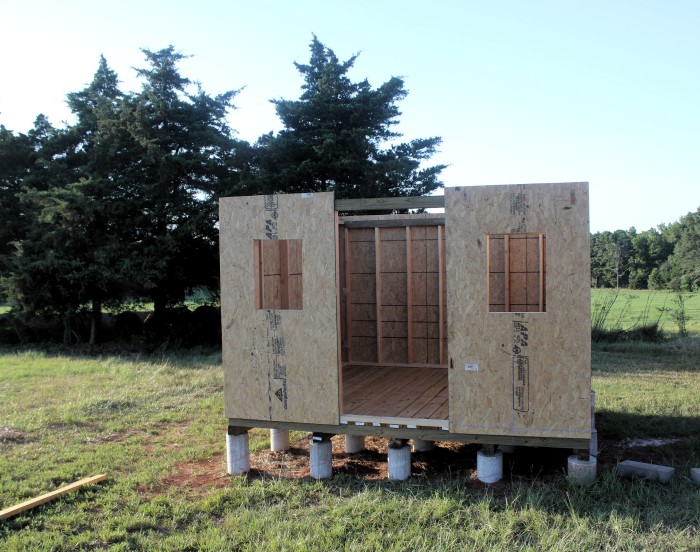
Covered the outside in OSB panels.
Then it was time to add the roof roll off supports and build the roof base frame.
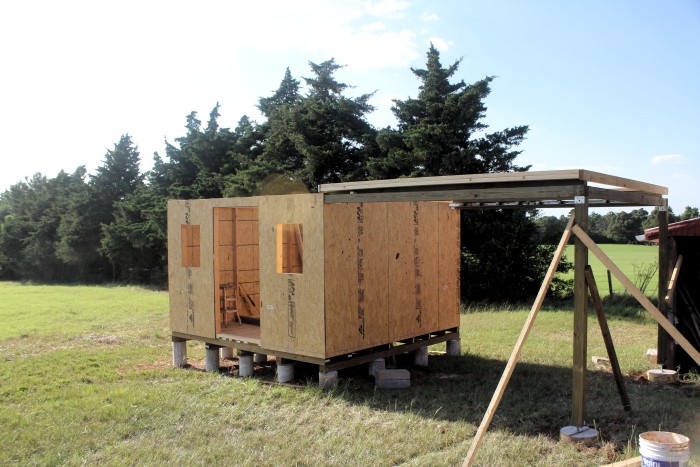
Added the roof gables and cross beam.
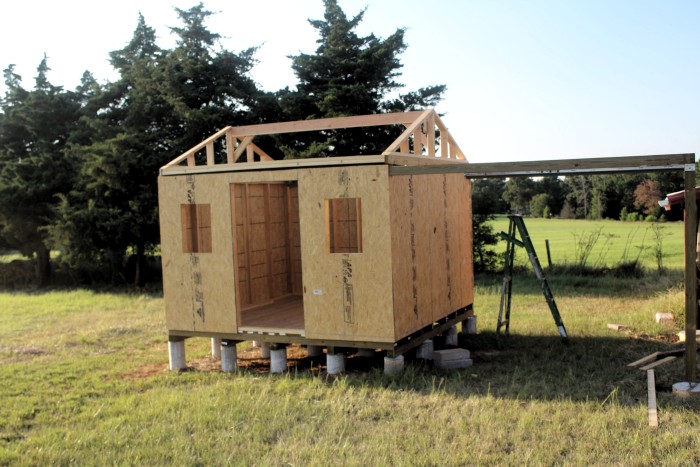
Then the ever fun rafters.
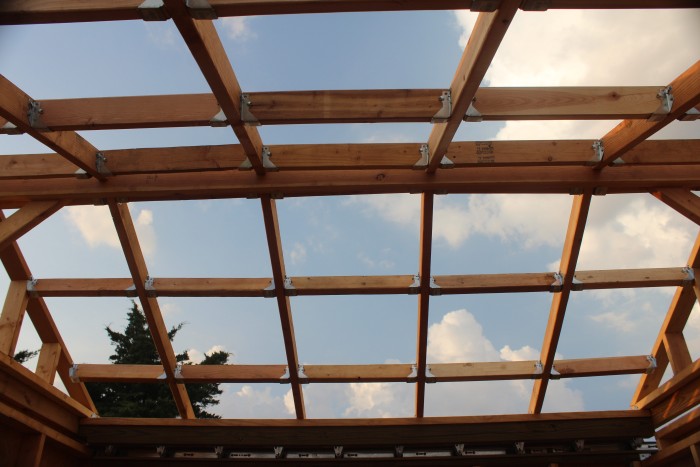
Added some thin ODB panels, roof felt, then covered it all with tin. Finally starting to see the light at the end of the tunnel, or so I thought.
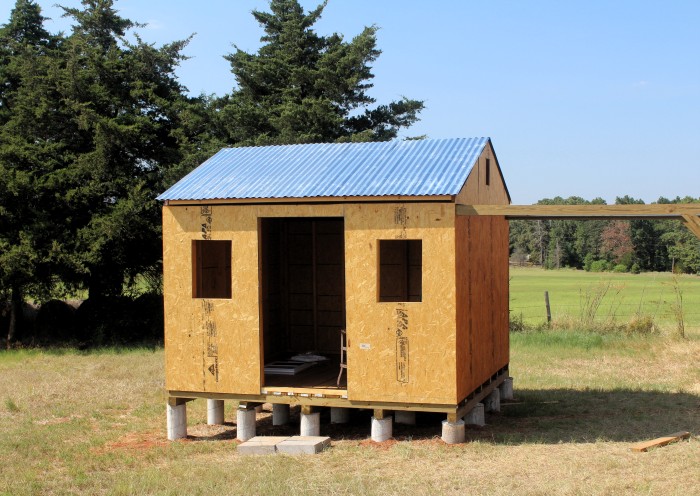
Added exterior siding, doors and windows.
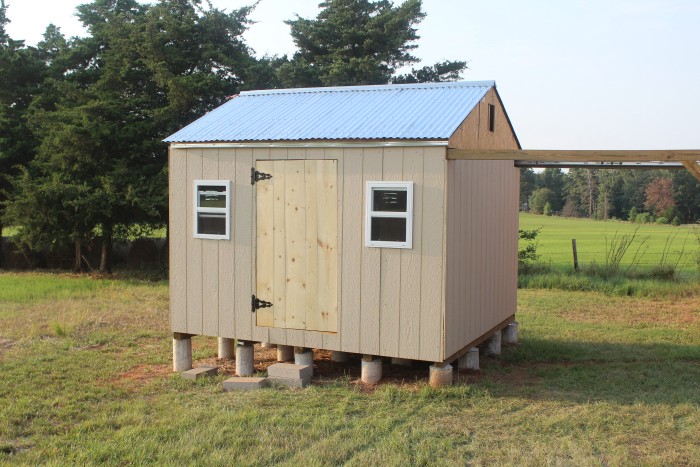
Painting to match the surrounding building, and built a door for it.
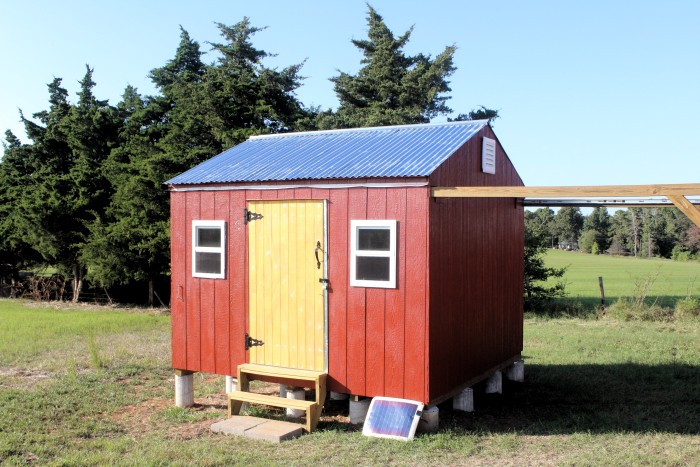
Then its time to work on the inside, decided to insulate the walls, and a layer of paneling, and added some electrical plugs. Also added an exhaust fan to the back wall.
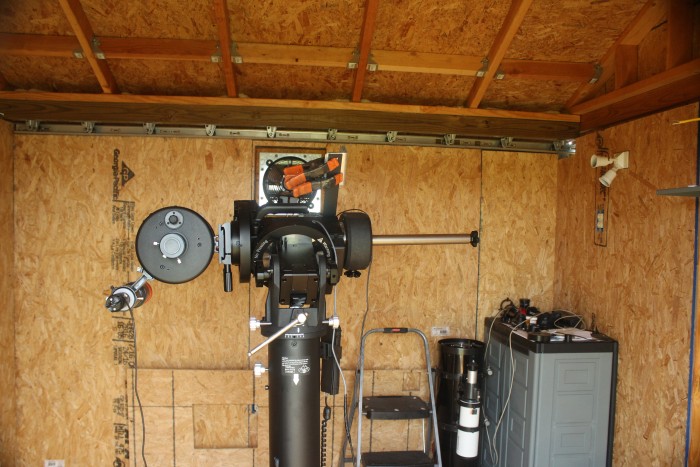
Almost done, didn't I think that a long time ago? A year later, just need to add some insulation to the roof, and minor electrical work, and some exterior trim.
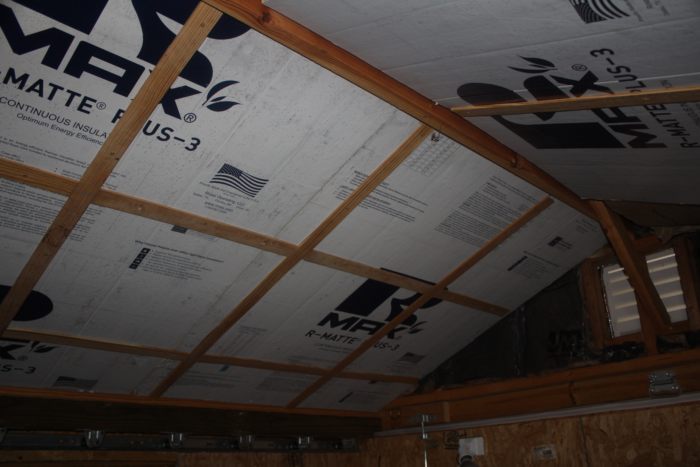
In June 2016, added insulation to the roof to hopefully keep some of that Texas summer heat out.
Then on to the details, finishing off the desk work area.
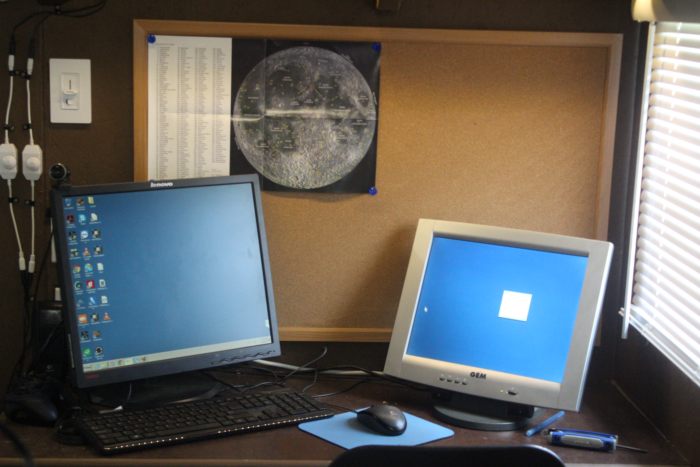
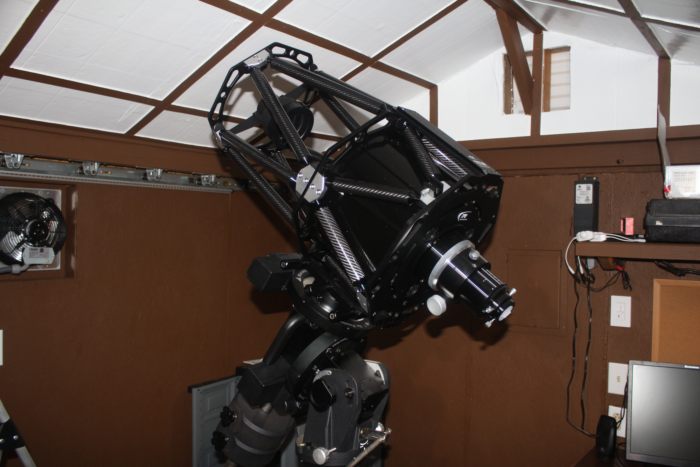
Always something to work on, but for the most part, after painting the inside walls and roof, the project is mostly finished.
- Details
- Category: Equipment
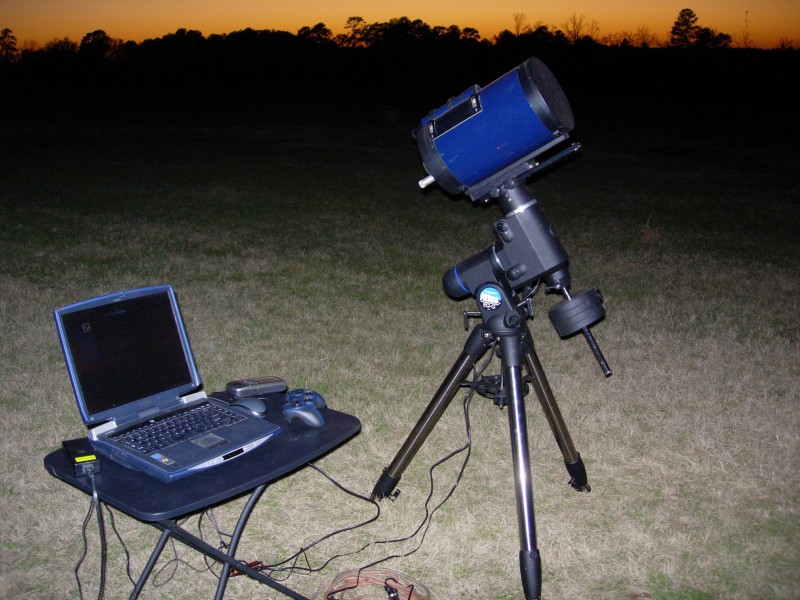
When you first start astrophotography, it quickly becomes apparent how much a convenience a permanent setup brings. First you have to bring out the tripod, the counterweights, and the scope. Then haul out the power, either battery(s) or A/C cord. Then a table for the computer, then the computer. Then all the cables to control the mount, the cameras. Then the mount has to be polar aligned with the axis of the earth so the mount can track objects better as they rotate through the sky. Of course, by then, clouds will appear out of no wheres.
So a high priority was to build a permanent setup for the scope and equipment. I decided to tackle building a dome, well because I think domes are cool. They also do a great job of blocking wind, reducing dew, and any stray light, which luckily I don't have much of a problem with.
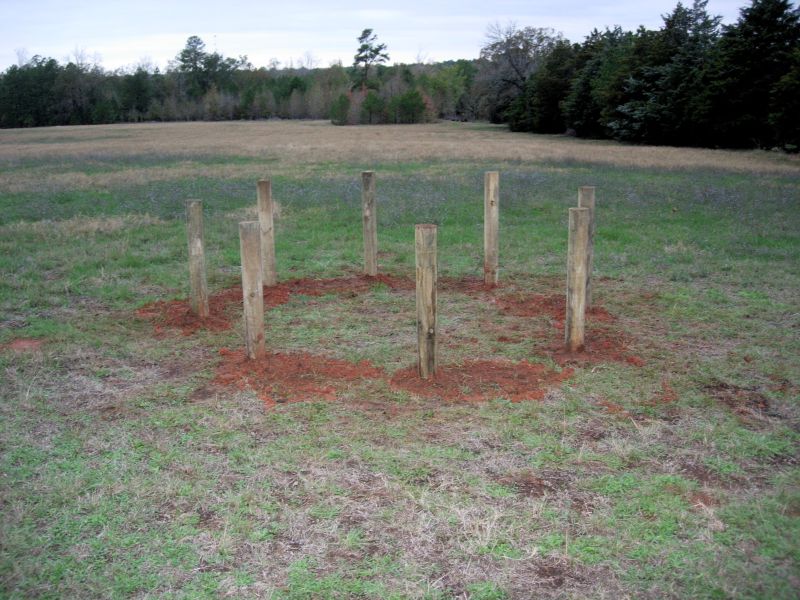
In November 2011, I started by laying out an octagon shape of posts to serve as a foundation. Note to self, digging holes in red clay is no fun.
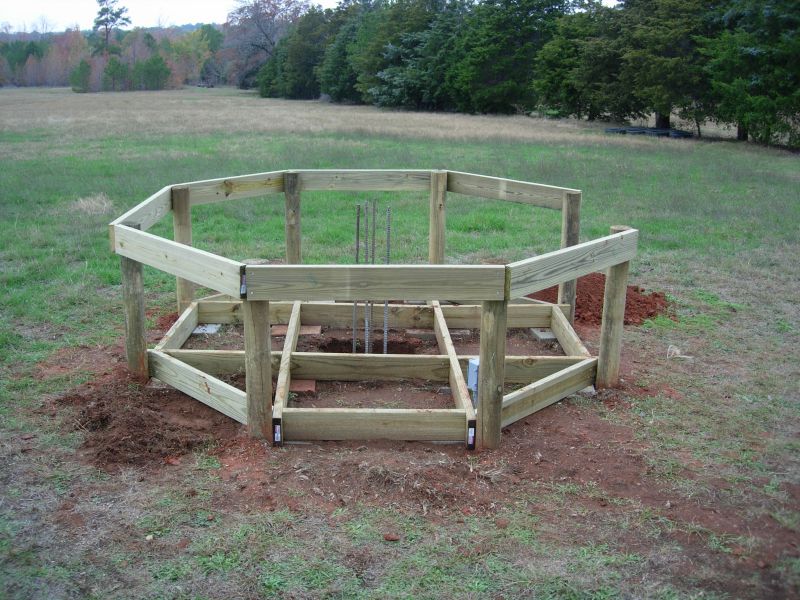
By December, I had the sub floor built, and the hole dug for the permanent concrete pier.
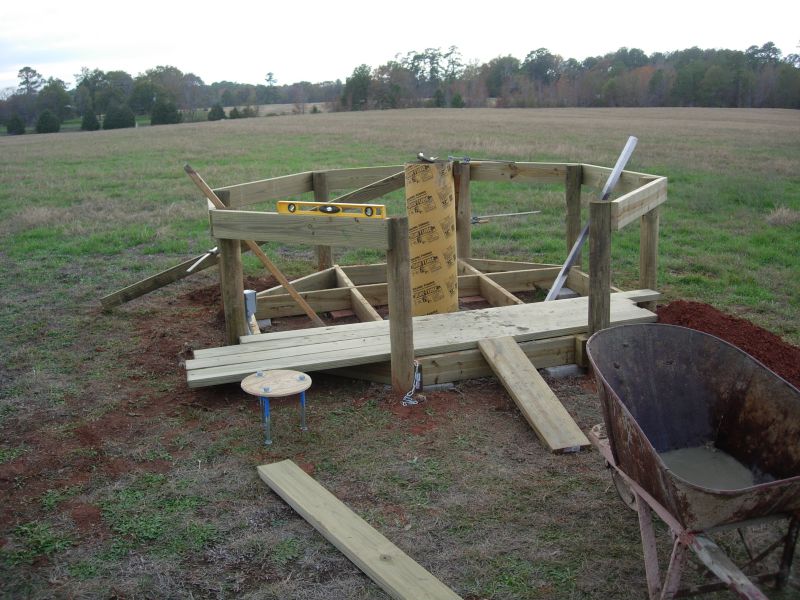
Then comes the fun job of mixing concrete by hand and pouring the sonatube full of concrete and rebar.
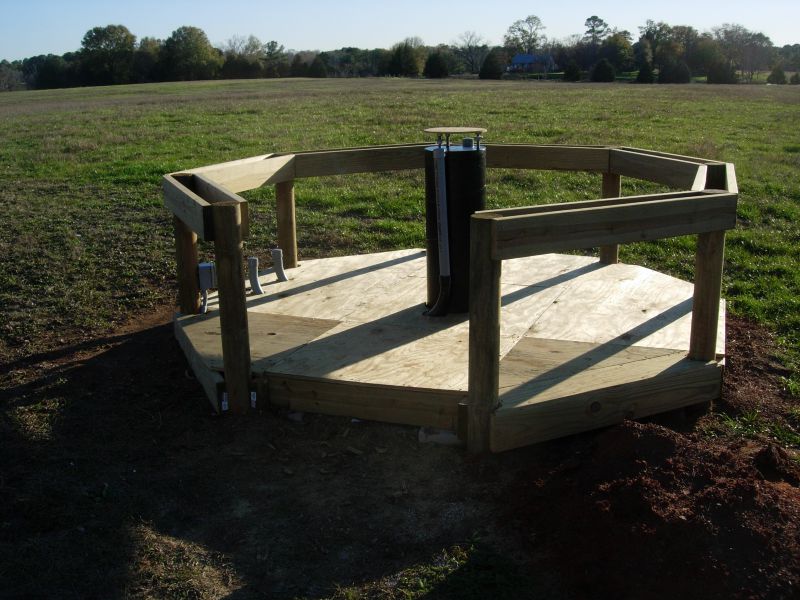
In January 2012, I installed the floor.
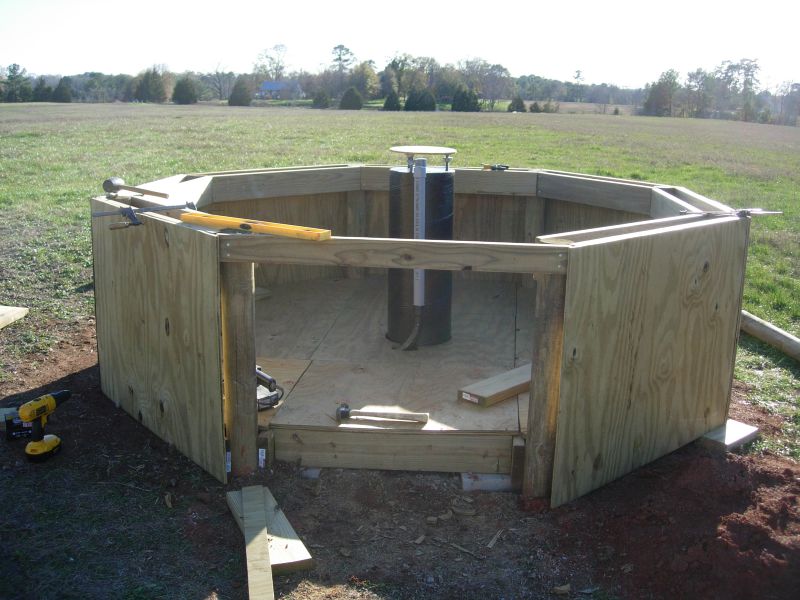
Then framing the walls.
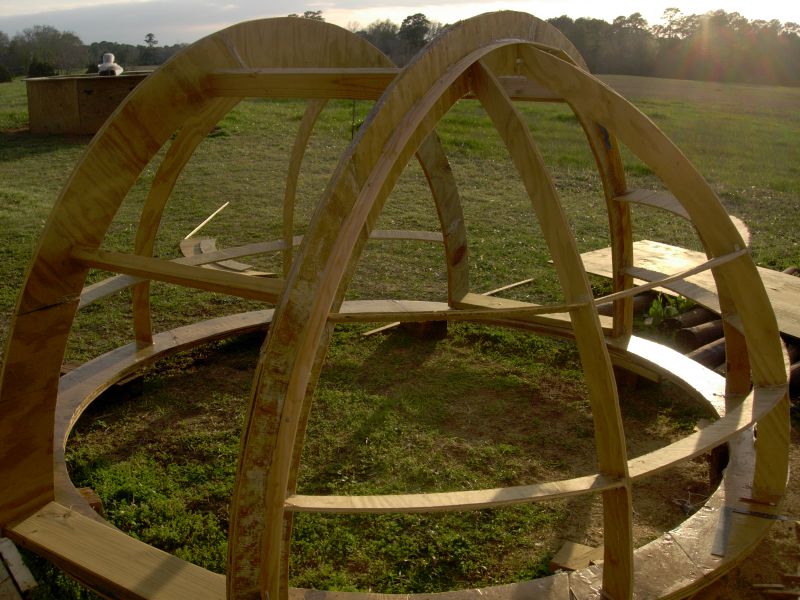
Started building the dome in February 2012. Building the dome was the biggest challenge. Getting the curves right, then trying to figure out the best way of covering it. This was my second attempt at a domed structure. I'm sure the third would have been better, but the next one would probably be a bought version.
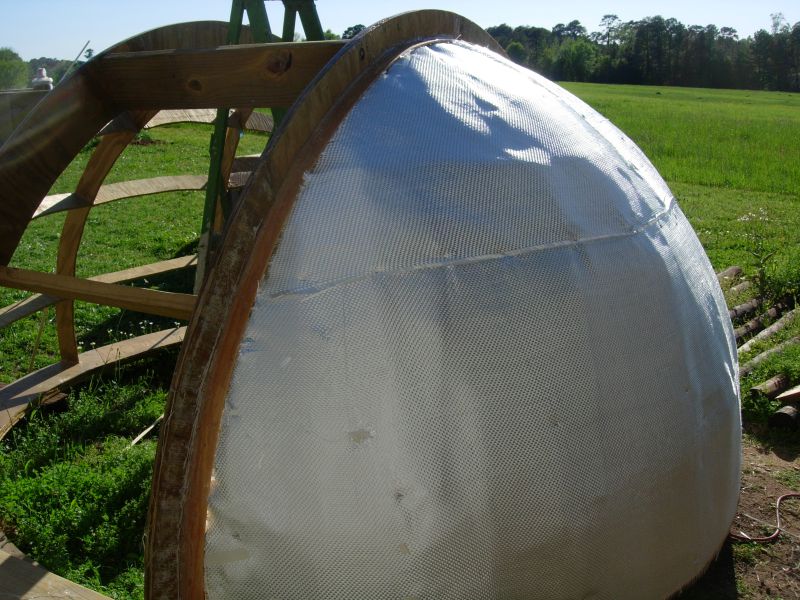
In March, I started covering the dome, having settled on using fiberglass as the covering material.
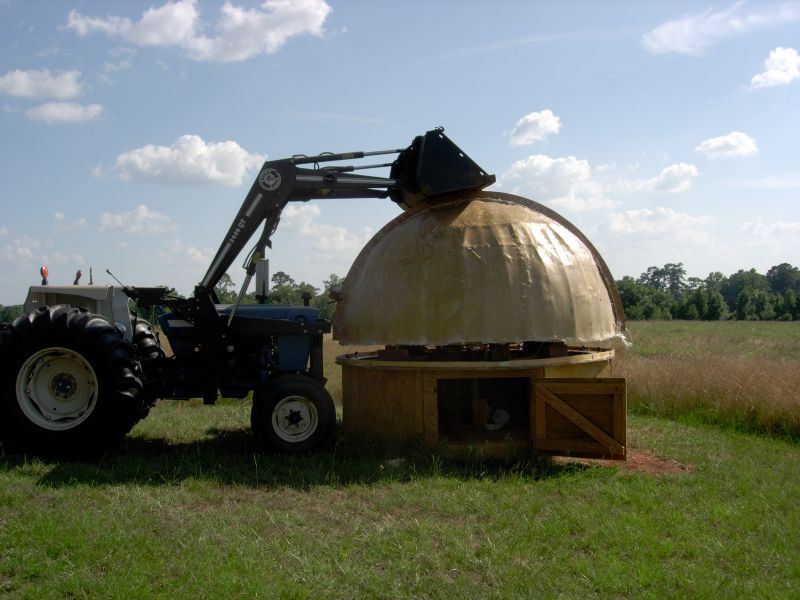
By May, I was ready to place the dome on top of the walls. It's good to see my calculations on how high I could build the dome walls verses how high I could lift the dome with the tractor paid off.
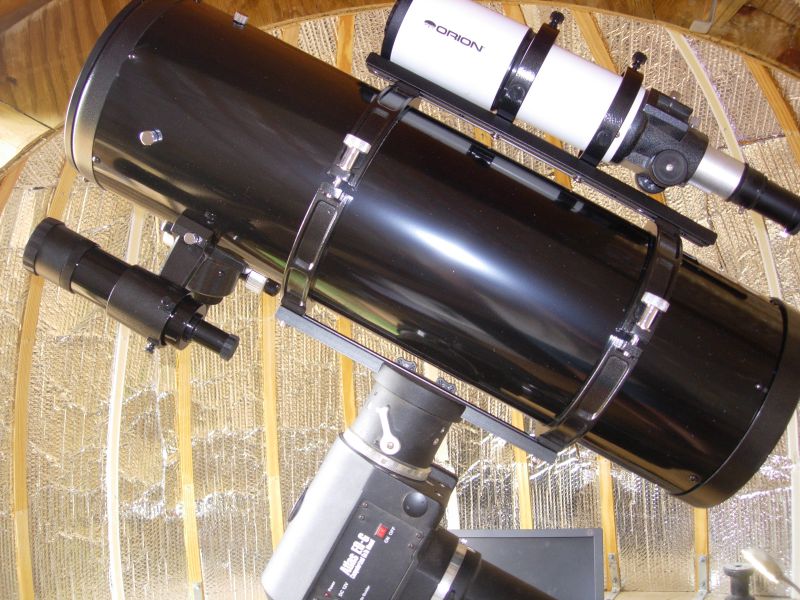
Then come the fun of actually using the new structure. Here is the 8" reflector installed on the mount.
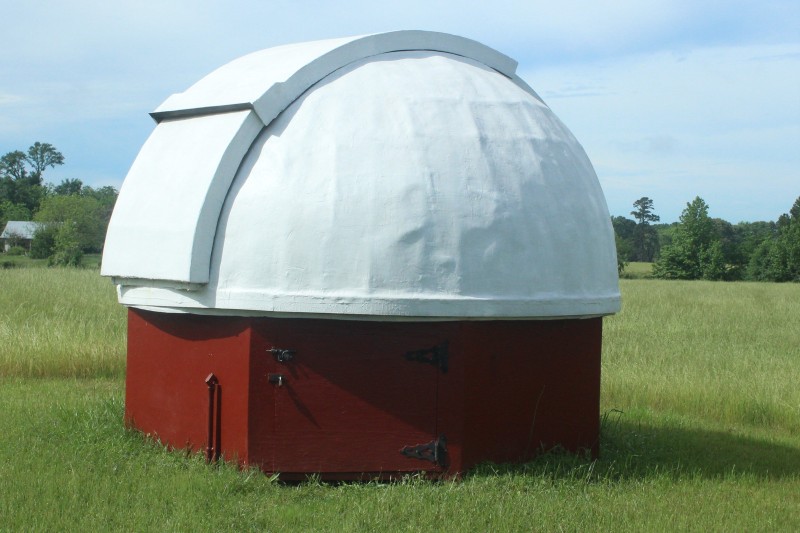
This is how the dome currently looks in 2016. So far its been holding up well. It is so nice to be able go out there, fire up the computer, slide the opening cover back, and be imaging in almost no time.
Things to be improved on, the dome came in much heavier than I'd like with all the fiberglass and fairing compound. Of course it is quite sturdy, but the wheels I used to support it, and allow it to turn are not up to the task, and it takes a fair amount of effort to turn it. I'm thinking eventually I'll replace the dome with a manufactured dome. After doing that, automating the dome would really be nice. Right now, every 1 to 3 hours, I have to manually rotate the dome to continue tracking an object.
- Details
- Category: Equipment
