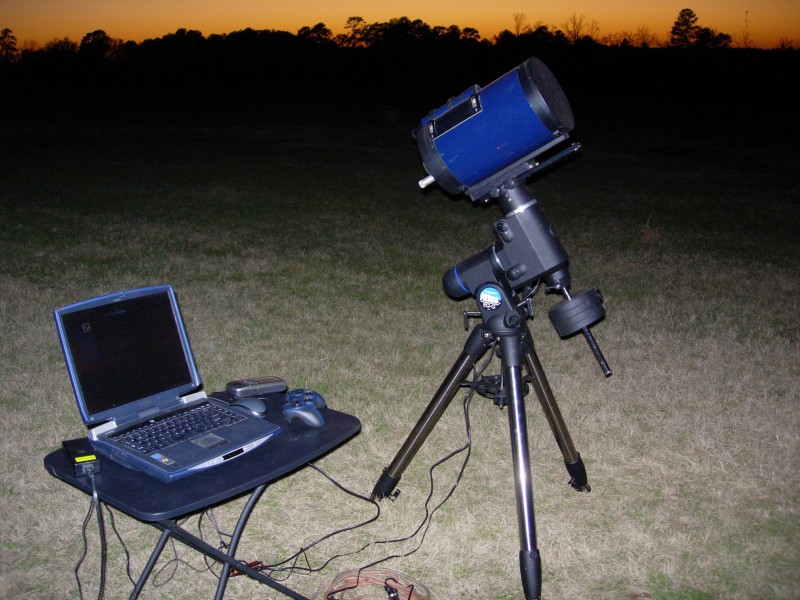
When you first start astrophotography, it quickly becomes apparent how much a convenience a permanent setup brings. First you have to bring out the tripod, the counterweights, and the scope. Then haul out the power, either battery(s) or A/C cord. Then a table for the computer, then the computer. Then all the cables to control the mount, the cameras. Then the mount has to be polar aligned with the axis of the earth so the mount can track objects better as they rotate through the sky. Of course, by then, clouds will appear out of no wheres.
So a high priority was to build a permanent setup for the scope and equipment. I decided to tackle building a dome, well because I think domes are cool. They also do a great job of blocking wind, reducing dew, and any stray light, which luckily I don't have much of a problem with.
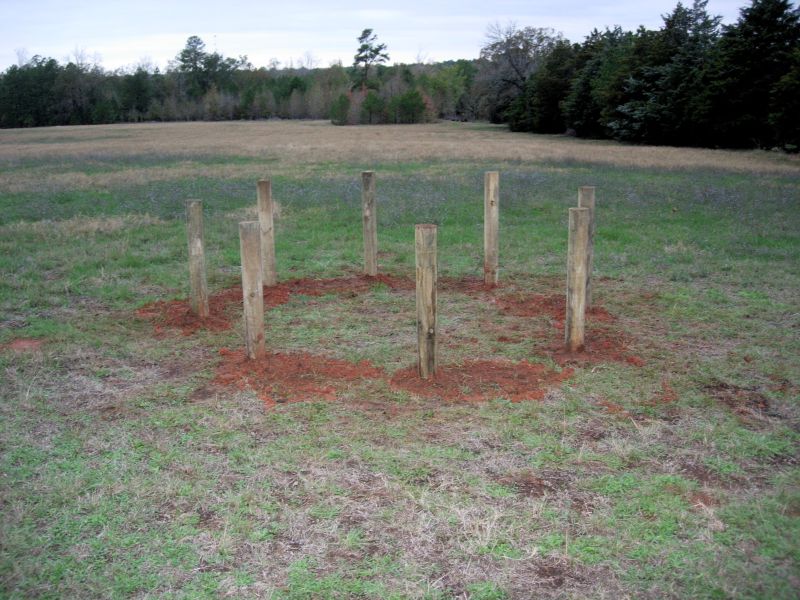
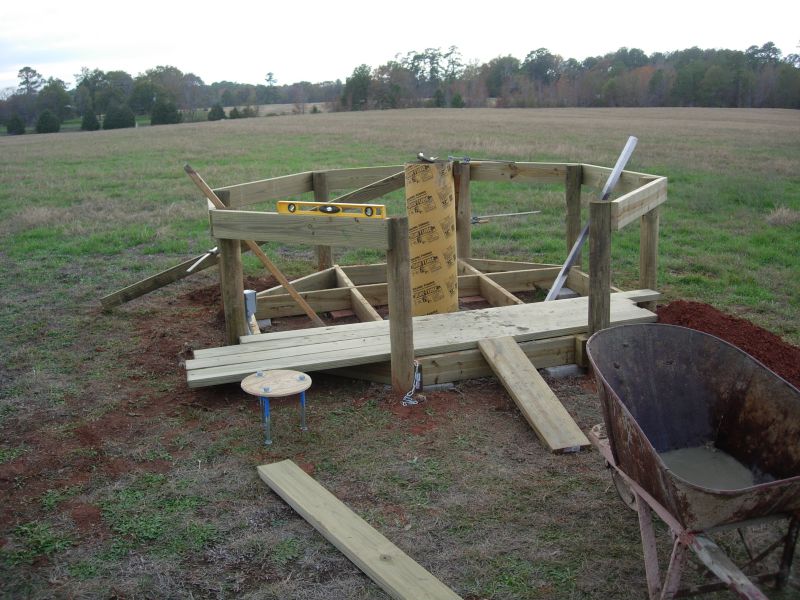
In November 2011, I started by laying out an octagon shape of posts to serve as a foundation. Note to self, digging holes in red clay is no fun.
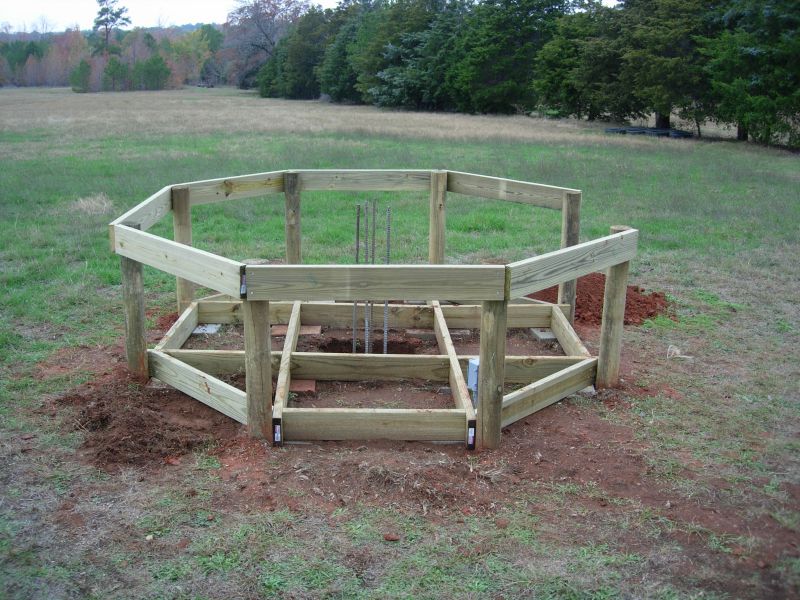
By December, I had the sub floor built, and the hole dug for the permanent concrete pier.
Then comes the fun job of mixing concrete by hand and pouring the sonatube full of concrete and rebar.
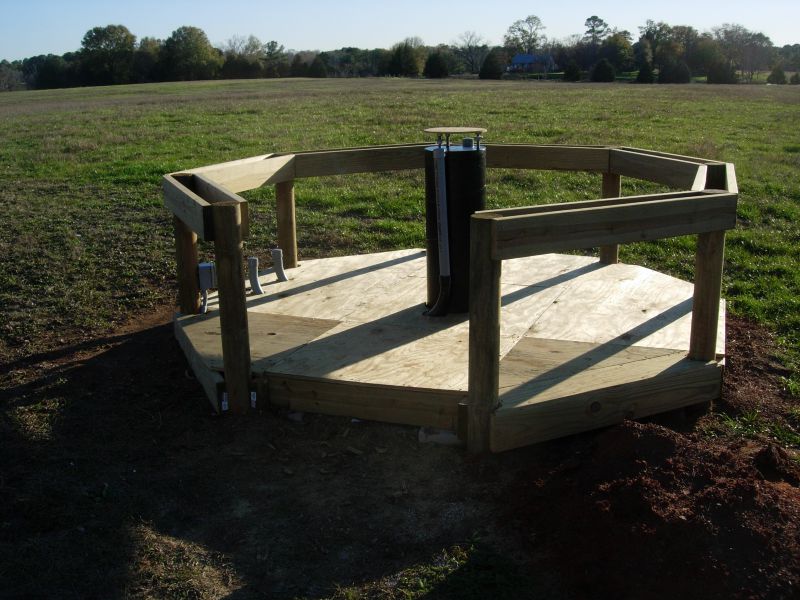
In January 2012, I installed the floor.
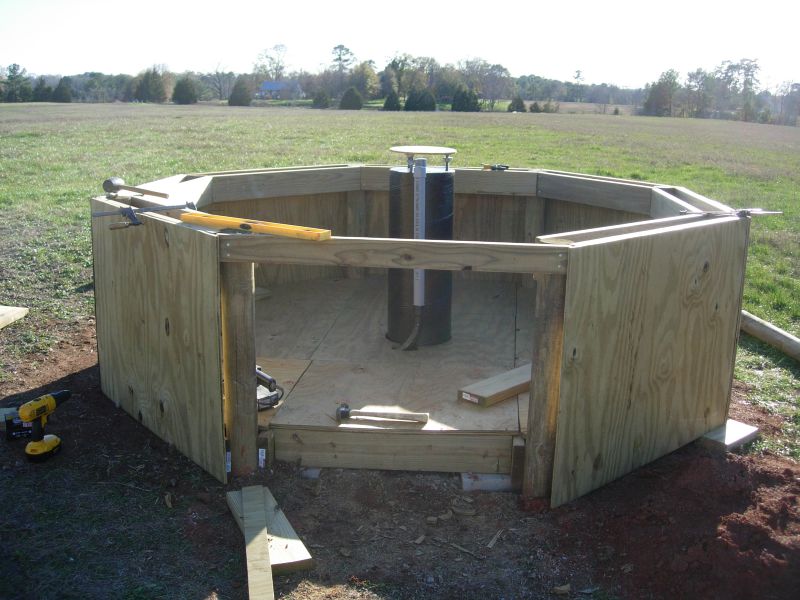
Then framing the walls.
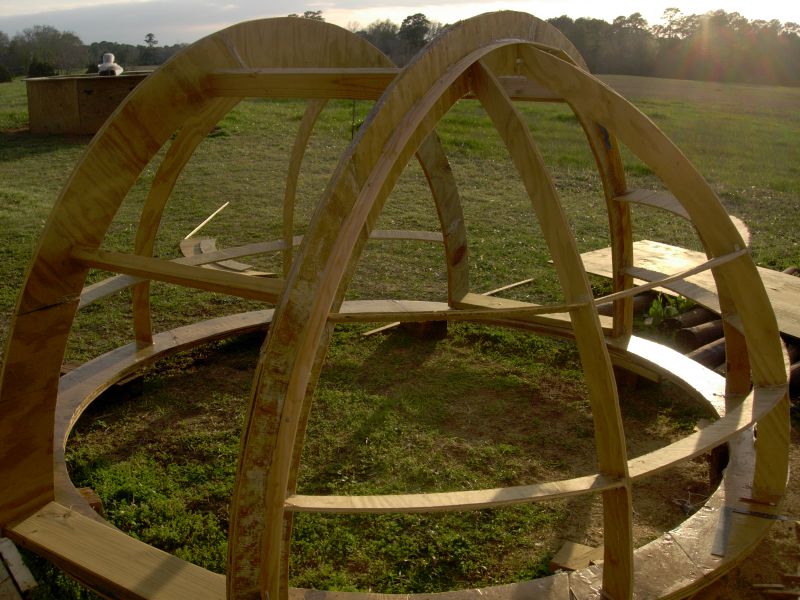
Started building the dome in February 2012. Building the dome was the biggest challenge. Getting the curves right, then trying to figure out the best way of covering it. This was my second attempt at a domed structure. I'm sure the third would have been better, but the next one would probably be a bought version.
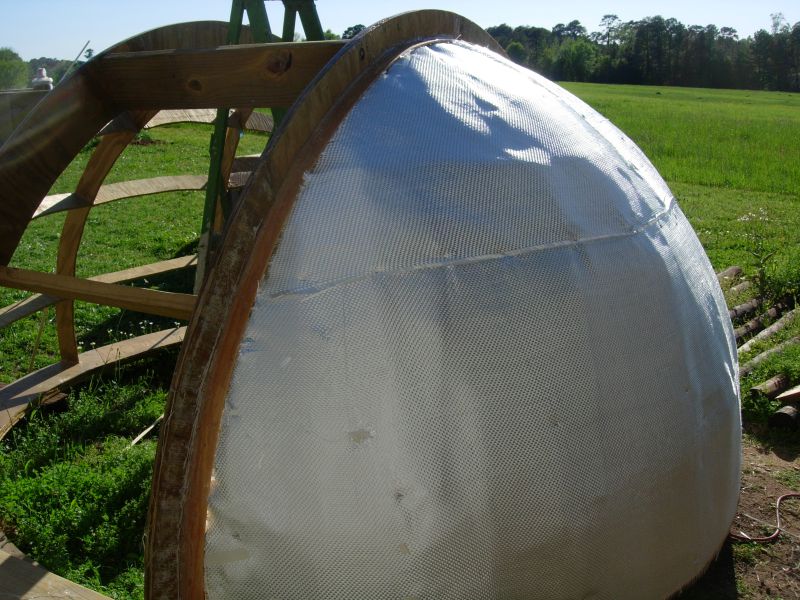
In March, I started covering the dome, having settled on using fiberglass as the covering material.
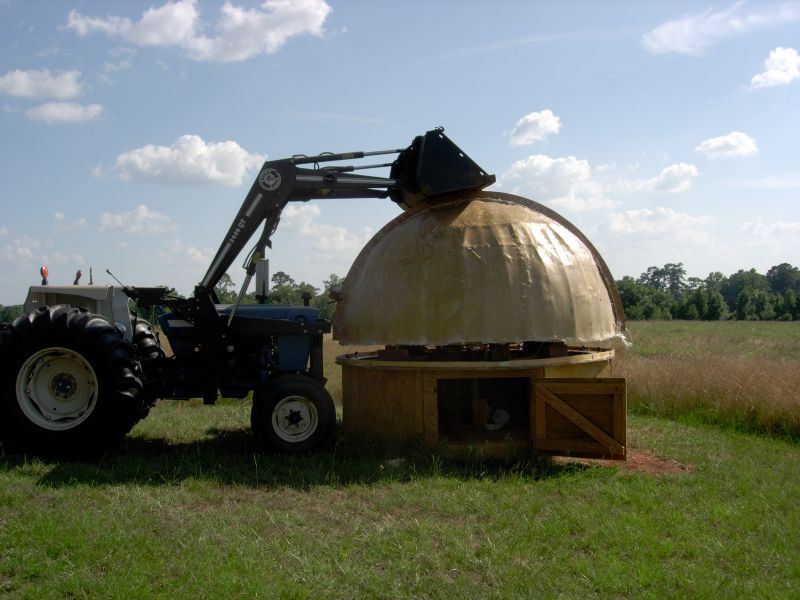
By May, I was ready to place the dome on top of the walls. It's good to see my calculations on how high I could build the dome walls verses how high I could lift the dome with the tractor paid off.
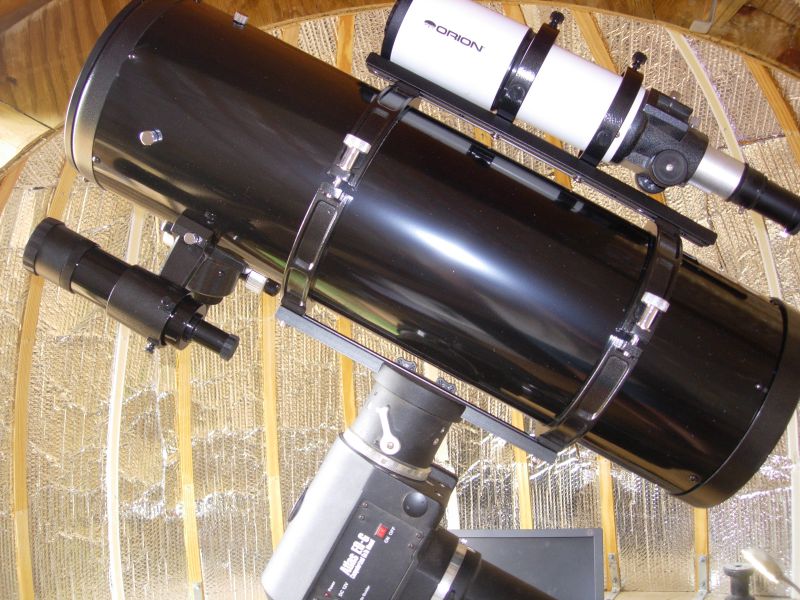
Then come the fun of actually using the new structure. Here is the 8" reflector installed on the mount.
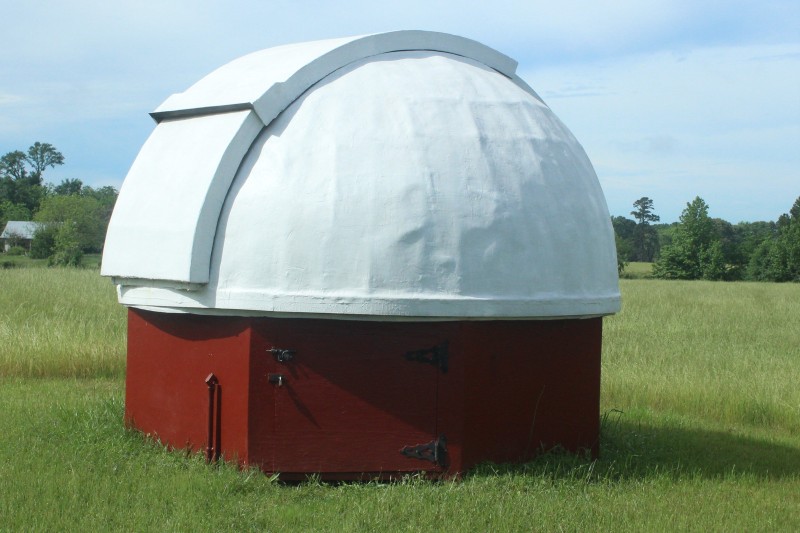
This is how the dome currently looks in 2016. So far its been holding up well. It is so nice to be able go out there, fire up the computer, slide the opening cover back, and be imaging in almost no time.
Things to be improved on, the dome came in much heavier than I'd like with all the fiberglass and fairing compound. Of course it is quite sturdy, but the wheels I used to support it, and allow it to turn are not up to the task, and it takes a fair amount of effort to turn it. I'm thinking eventually I'll replace the dome with a manufactured dome. After doing that, automating the dome would really be nice. Right now, every 1 to 3 hours, I have to manually rotate the dome to continue tracking an object.
